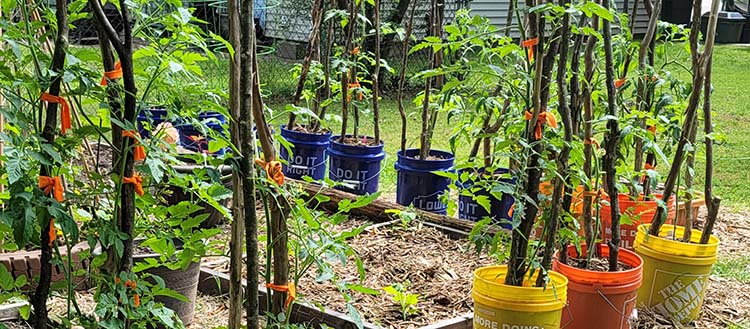
Finding Success With What You Already Have
Using limbs that have fallen from your trees or have been pruned and an old t-shirt, you can build a tripod tomato trellis for free I’ll show you how in this blog. When I first started gardening as an adult, I did not have the funds to run to a store and pick up materials for making a trellis for my indeterminate tomatoes. I didn’t have the funds to buy a pre-made metal tomato cage either. It has been my situation many times where I had to look around and be creative. Indeterminate tomatoes must have some type of trellis or support, or they will wind up vining across the ground. This will leave your beautiful and delicious tomatoes open to being eaten by small animals or rotting in place.
The first year I gardened in my current location, I did not have a garden bed prepared so I planted in containers, 5 gallon buckets to be exact. I used some tomato cages that were given to me by a friend but my plants outgrew the cages and I needed something taller for them to be tied to as they grew. I looked around and found some limbs that had fallen from trees in my back yard.
I created a tripod, tying them at the top and then placing them over the 5 gallon buckets. This worked until a strong wind came through and blew them over because they had not been driven deep enough into the ground. The reason for this was I needed the height and had buried them just deep enough to stand up.
Although the tomato trellis/tripod was not a success that year, my production of tomatoes was. After having several ‘ok’ years of tomatoes production, I decided to once again grow them in containers this year. Below you will find instructions on how I built the tripods and placed them inside the containers and as of this month, June, they have been very successful.
Step One: Find three limbs or poles to create a tripod
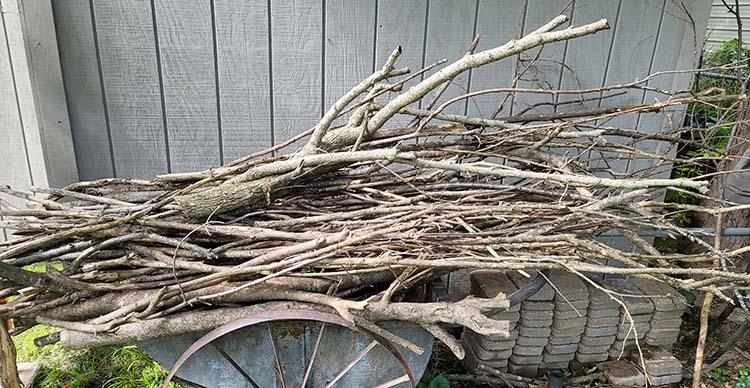
Last Fall one of my neighbors cut down a large Crepe Myrtle bush/tree that was rubbing against the side of their house. I asked for the limbs and remains of the bush which they were happy to give me. I cut these up into single limbs that could be used for posts. I had also had some limbs fall from large trees that I have in my back yard. I kept them over the winter. The larger ones I used for flower bed borders and the others I saved for staking and trellising. When it came time to plant out my tomato plants, I selected the limbs I could use to create tripods. I created 12 tripod trellises for my original tomato plants. For this blog, I selected three limbs to create a tripod to use for pics in this blog.
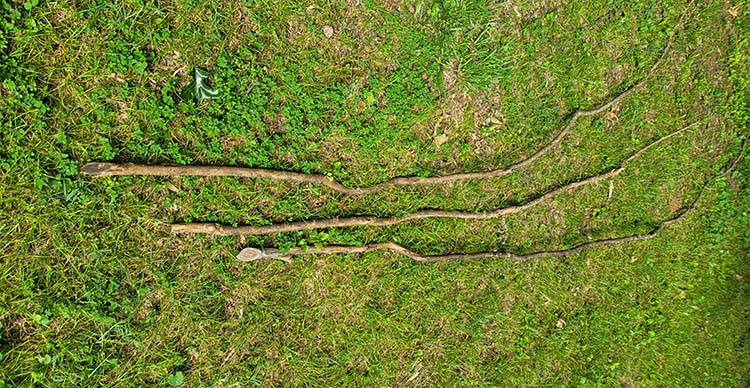
As you can see, the limbs are not straight. Each is around 9′ long (2.74 meters). I would prefer them to be straighter but it is what I had and I wanted the height.
Step 2: Bind The Poles Together And Make The Tripod
Before binding the poles/limbs together, make sure the ends of the poles are even. You want them to sit evenly on the bottom of the 5 gallon bucket container.
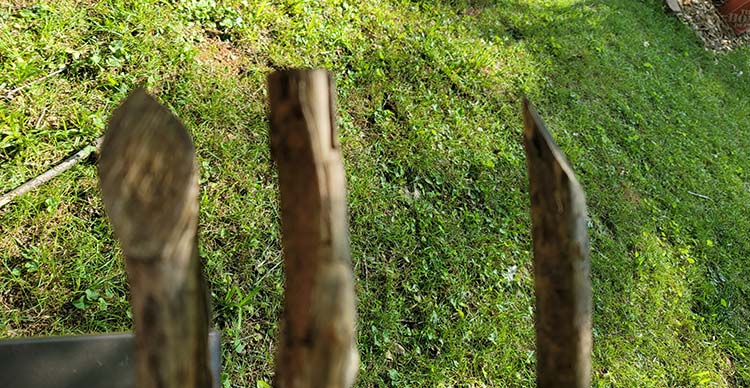
As you can see in the pic above, the limbs were all cut differently. I could have taken the time to cut them off again and make them even, but it isn’t necessary if you make sure the bottom tip of a limb that touches the bottom of the container is even with the other two limbs. If you do not, your tripod trellis will lean and will most likely tip over in a strong wind, or when the plant it is supporting, becomes loaded with tomatoes.
Locate the highest place where the limbs laid side by side stay straight. It is at this point where you will want to tie your limbs together. Tie the three together with twine, rope, or even an old t-shirt torn or cut into strips. Use whatever you have on hand. I used a green jute twine that I had in my shed.
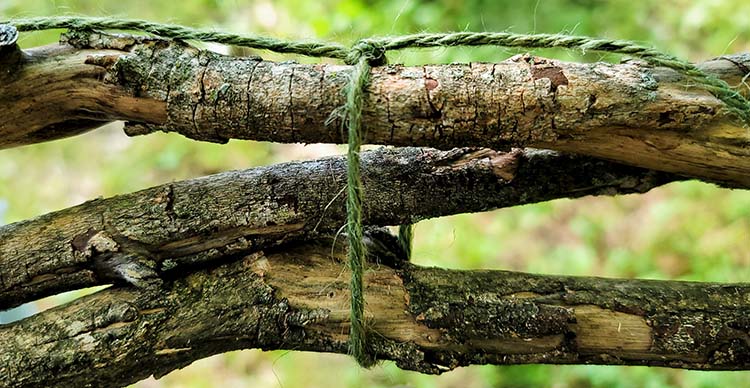
I found that I could tie them easiest when I sat down and held them across my lap. After making the first tie, make five more circles around the limbs with your twine, t-shirt, etc. Keep the twine tight as you make the rounds. If you are using a t-shirt, you will have to tie the strips together to continue going around the limbs.
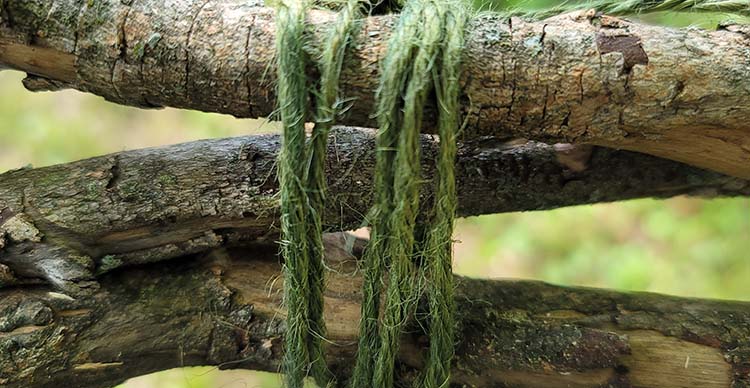
After you have rapped around six times, you will go between the limbs and rap three times around the twine/t-shirt that you had rapped six times. Pull the string tight as you are making three rounds over the other six. See pic below. Do this on both sides.
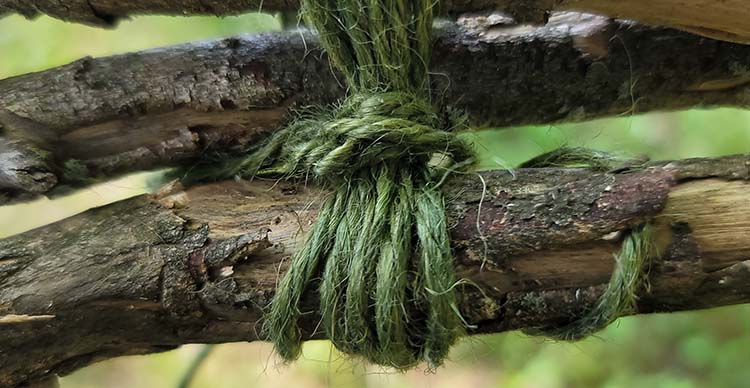
Be sure to pull twine tight. You want the limbs to be able to move slightly but you do not want the twine loose enough to slide down the limb once the tripod is placed in an upright position.
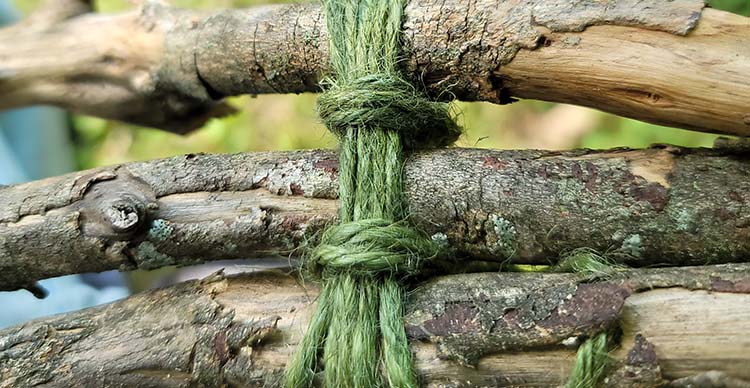
After rapping the three rounds in between the limbs, I cut and tied off the twine to the end of the original knot. If you cannot tie it to the original knot, rap the end around one limb and tie it off.
Step 3: Place The Tripod In The Container
Raise the tripod into an upright position and slide the bottom of the limbs into your container.
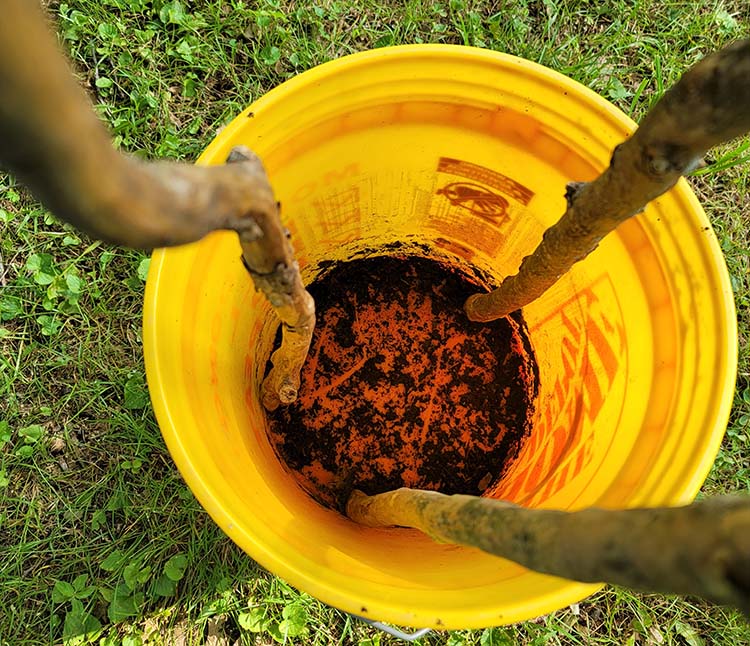
Maneuver limbs inside bucket to as close to the bucket sides as you can. If you let go and the tripod stands up by itself, that means the ends of the limbs are even on the bottom of the bucket. If not, see if you can adjust any limb that is not touching the bottom to do so. In one situation, I could not move a limb that was shorter so I found a wood chip from my mulch that I could slip under it so it would be even.
The bucket above had already been prepared to plant something else in it. That is why there is a small amount of soil in the bottom. I dumped out the soil so I could use the bucket for this demonstration. There are small holes drilled into the bottom of the bucket to allow drainage.
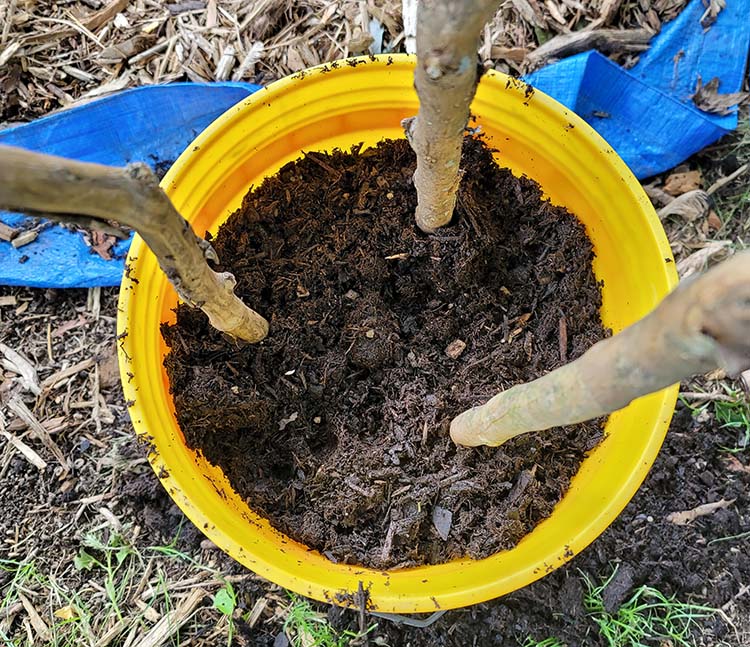
Fill your container with soil until it is around 3″ (7.62 cm) below the top. While filling it, lightly pack the soil around the limbs to help secure them into the container. Test to see if they will stand up without being held. If not pack the soil in tighter around each limb until they stand up without being held.
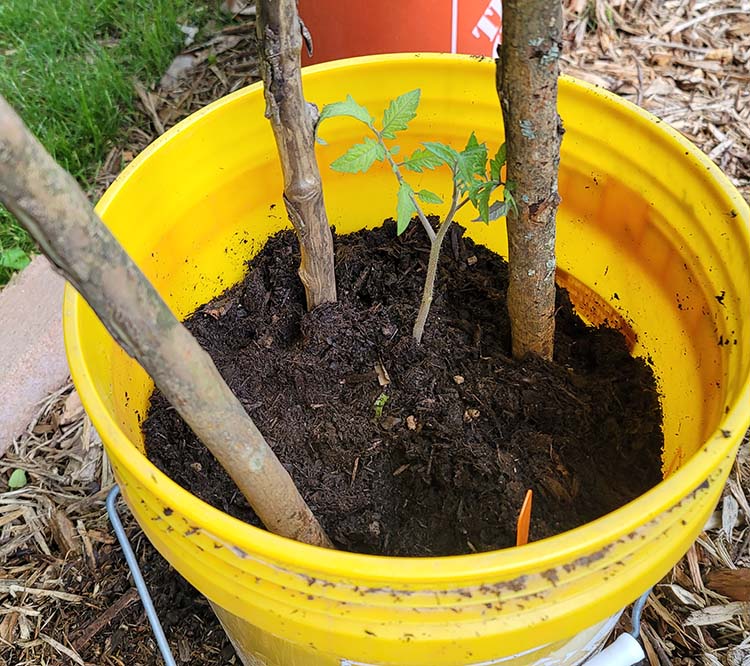
Step Four: Plant The Tomato
Dig a hole in the center and plant your tomato plant. Remember to bury the tomato plant deep because it will root along the stem. As the tomato plant grows, I use old t-shirt strips to tie them off to the tripod limbs. You can see in the pics below that I used a bright orange t-shirt for this purpose.
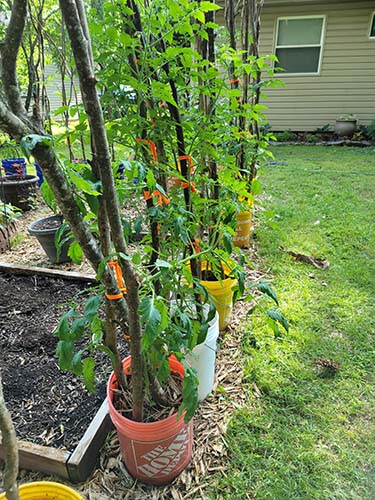
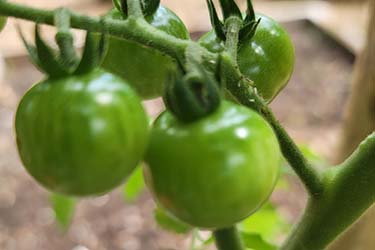
After planting the tomato, I added more soil until it was just below the leaves of the plant. I then added a wood chip mulch to help hold in moisture. I hope you have found this DIY free tomato tripod trellis idea useful. If you have any questions or comments about this tripod trellis, please write them in a comment below.
Update Summer 2022
As the tomato plants grew and produced tomatoes, two things happened. They became top heavy and leaves spread to form a type of sail. I had to support each bucket tripod with an additional limb post driven into the ground. Strong winds in June knocked over several of the buckets. Since I didn’t see it happen, I wasn’t sure if it was animals or what.
I was able to capture one of the events on a security camera attached to my house. It showed a bucket being blown over by a wind. I then selected enough limb poles from my pile to create support poles for each bucket. I tied the top to one of the tripod legs in each bucket and then wedged the other end into the ground. This stopped the tomato tripod toppings.

